Chapter 3: Testing and blocking
You'll see a lot of things pop up on screen, but after not too long, you'll find SRB2
starting up, going straight to our map
*TEST*
Really, there's not much to see. Ignore that it says Greenflower Zone 1 and plays GFZ1
music. We'll fix that later. However, you will see that despite that two sided linedef
between the two sectors, there's no real border except for what you can see were the
white, one sided lines. However, there are a few things to note. If you are using
Knuckles, try to climb on the wall. It likely won't happen. However, more serious is this.
Take Sonic and use his thok move (Jump twice) at one of the walls. You'll fly right
through, into nothingness. If you are playing in software, this will look very strange. In
Open GL, it'll just look like the sky. Don't worry, this problem will be fixed later. For
now, just keep in mind that this is a problem
*ENDTEST*

Quit SRB2 and you'll end up back at DoomBuilder. Rather handy, isn't it?
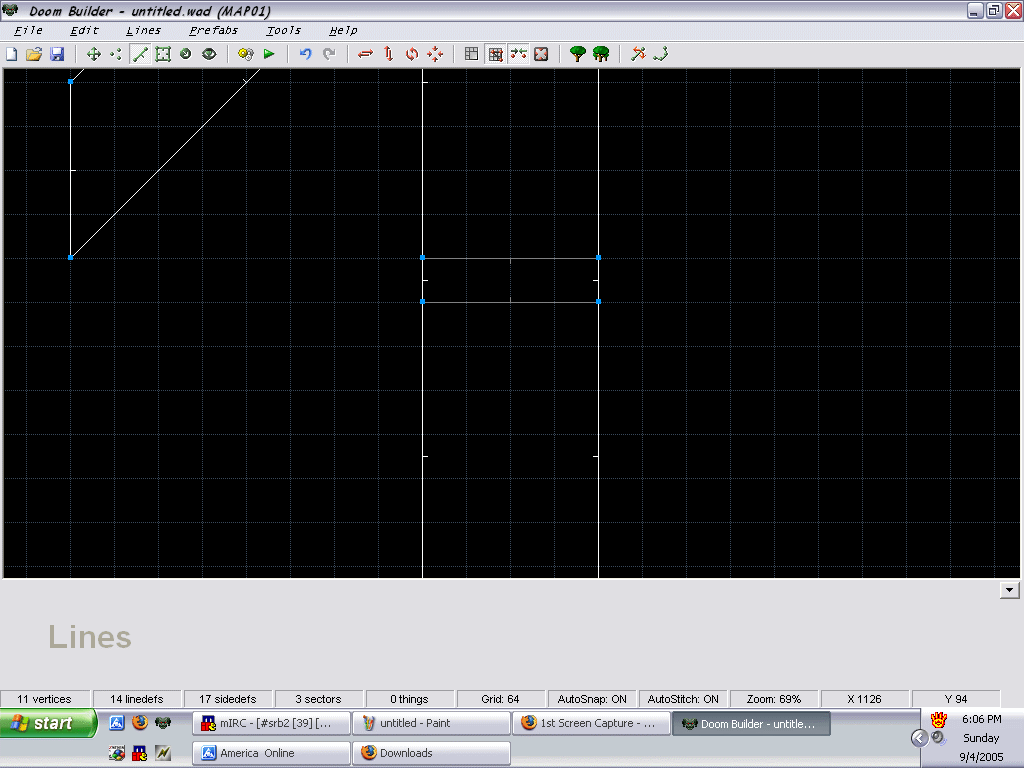
Anyway, first, let's add something to the level. How about a block to jump over? What you
do is, inside Sector 1, enter Linedefs mode, and right-click. Move the mouse to the left
until the line hits one of the one sided linedefs, then right click. Move it up 64 units,
right click, move it to the right to the other line, right click, move down 64 units,
right click, and move to the left until you hit your starting point. Now, the ever helpful
Sector dialog will pop up. Set the floor height to 50, and the floor flat to FLOOR0_3.
*WADAUTHOR* If you learned level editing with a441's WadAuthor tutorial, then you'll know
he tells you to use multiples of 8 and 64 and all that. Really, there's no need to bother.
50 isn't much different that 64 in terms of height, and it's easier to memorize, Although,
textures won't look exactly right when you look at them. This is because one fracunit of
height/length equals one pixel on a texture. In making your own levels, use what you want
to.
Recall that Sonic (Or any character, at least non-custom ones) can jump 96. Now, what's
easier to do is memorize this as 100. It gets so much less confusing, and it's easier to
make heights appropriate. Now, although Sonic can jump 92, he can also pull himself up 32
units, so his jumping height is actually 128, for our purposes. However, instead of
keeping track of two numbers, just remember it as 100 and you'll do just fine.
Anyways, back to our block. Now, let's test this block out.
*TEST*
At first, it doesn't look like anything is wrong. However, walk toward the hurdle, and
you'll see what is known as the Stretch effect (Unless you are playing in OpenGL. OpenGL
replaces anything that's missing with a nice friendly REDWALL). Why's this? Well, you see,
every linedef has either one or two parts to it, that are called sidedefs. A one sided
linedef has one sidedef, a two sided linedef has two sidedefs. See a pattern? You see,
each sidedef also has three parts to it, a top (or above), a middle (or main), and a
bottom (or below). Each part can have a texture on it. Now, if you'll look around in our
level, you'll see that most of the walls have the stone texture known as GFZROCK.
DoomBuilder automatically puts this as the default middle (Main) texture. So, what caused
the problem with our hurdle? You see, when you raised the floor, you are actually seeing
below the sector. The engine handles this weirdly, and turns out our little freakshow. So,
if you can see below, what does that mean? Set a below texture!
*ENDTEST*
Okay, back in our map window, let's tidy something up. You'll see that out hurdle is made
up of five linedefs, yet is a rectangle. Fix that by dragging the vertex in the middle to
the side, so there are only four lines. It will make things easier, trust me. Now, select
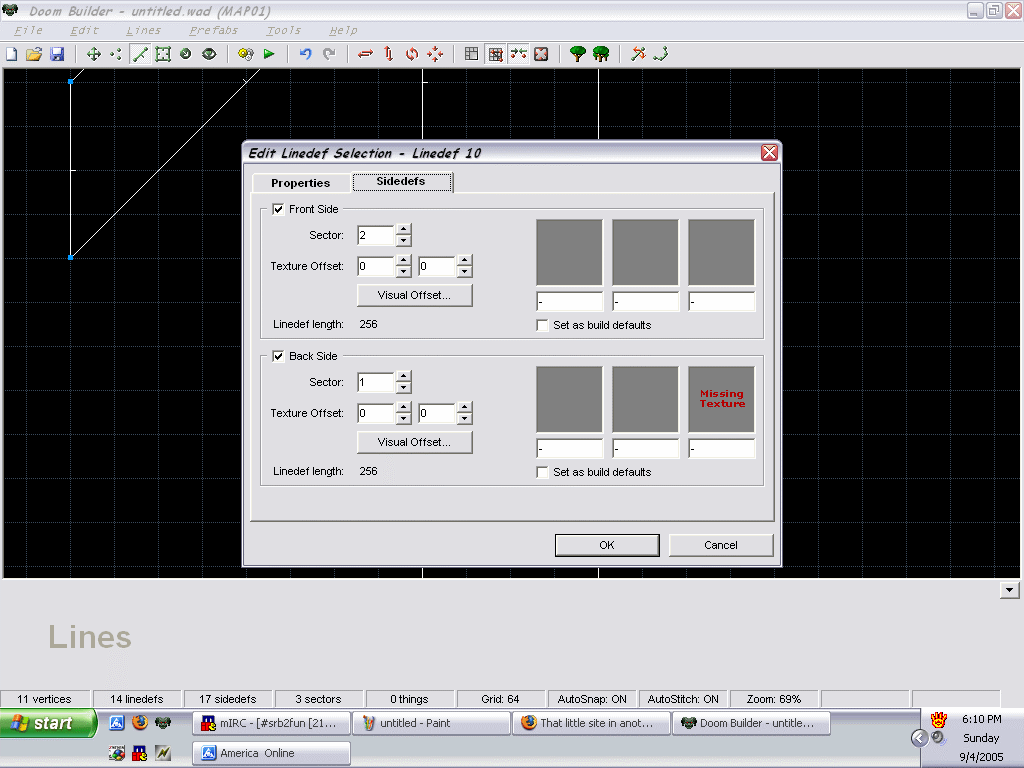
the line at the bottom, and right click on it. You'll see a helpful dialog box. Note that
the box marked Double Sided is checked. (If you're using the config given in this guide,
you'll notice that it says Don't touch. That means if it is checked, don't clear it, and
don't check it if cleared. I added other helpful notes like that.) Anyway, click the tab
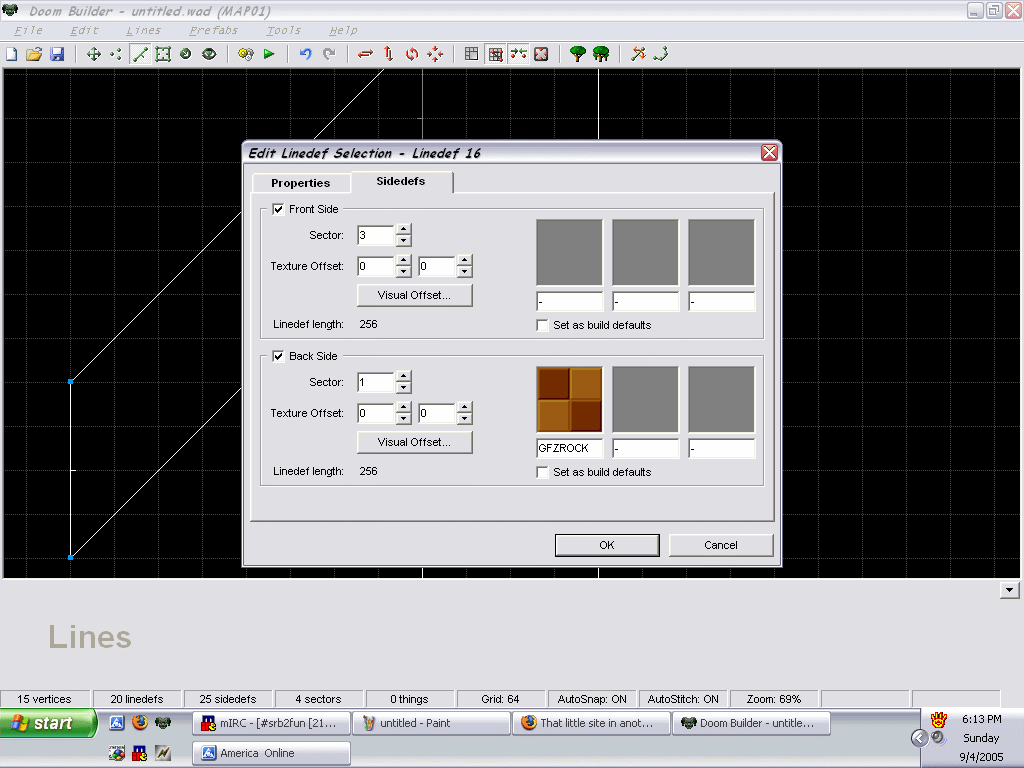
at the top that says Sidedefs, and look at the new menu. Part of this has no meaning, and
part has a lot. Sector is for what sector that side belongs to (We'll go into that in a
second). Texture offset, although not completely meaningless, isn't needed too much. The
part on the right of those, however, is the real meat 'n potatoes. There are three boxes,
similar to the Sector dialog. The box on the left is for the Above texture, the middle for
the Main texture, and the one on the right for the Below texture. Now, you've probably
noticed the Back-Side Below texture has a nice little message saying Missing Texture, so
type in GFZROCK there, and click okay.

*TEST*
Looks good. Oh wait, the other side isn't set. Oh well, small loss.
*ENDTEST*
So set the other side to the correct texture, and there you go.
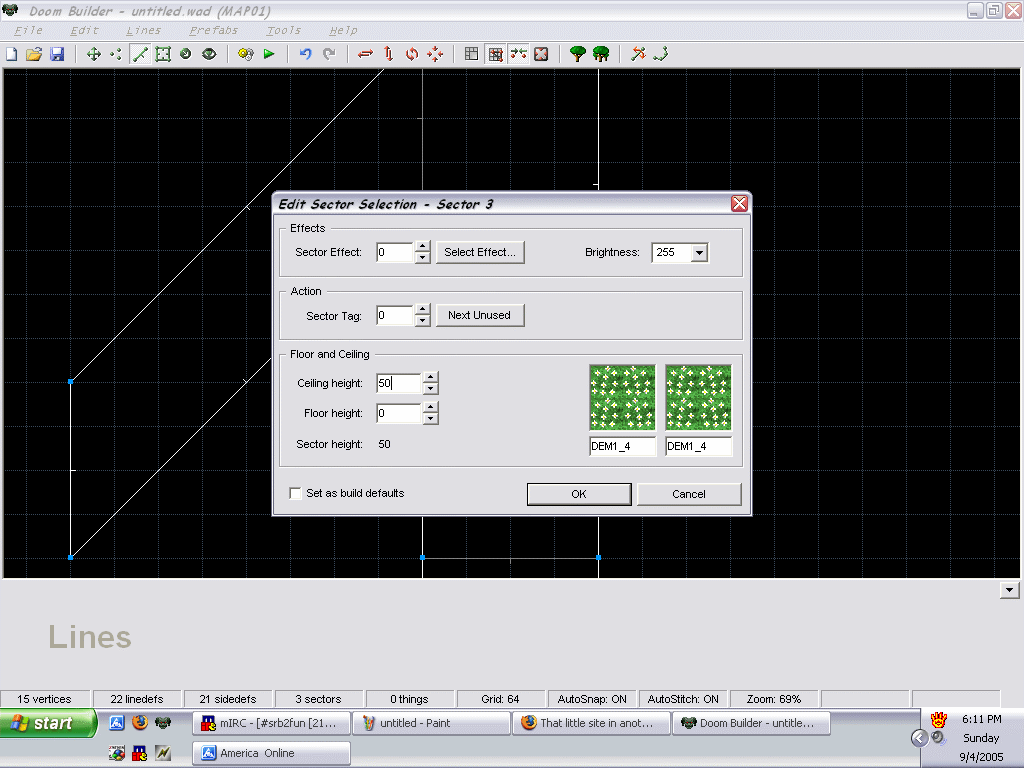
Now. You know how in Techno Hill Zone 1, there is one part that you can just spin under
and get to a hidden area? Let's do that here. Past our hurdle, make another sector similar
to the first. Only, set the floor and ceiling flat to DEM1_4. Set the floor height to 0
and the Ceiling height to 50. Also, take the linedef that has a vertex in the middle and
drag the vertex over, like before. Now, let's test it.

*TEST*
Well, at first nothing looks wrong. Then, when you walk up to the obstacle, it looks weird
on the sides. That effect is the Hall of Mirrors, because the engine, once again, doesn't
know what to do when it's displaying nothing. Anyways, you'll see that you can still roll
under it. You'll see that the DEM1_4 flat is visible, and that you can see through the
wall.
*ENDTEST*
Okay. Remember how we fixed the Below texture on the hurdle? Well, do the same here,
except you'll be putting in the Above texture.

*SIDENOTE*
If you want to make things easier, and you run a decent resolution (1024x864 and up), then
go down and to the right, and you'll see an arrow. Click that, and a helpful bar will
appear to give details on anything you hover your mouse over. Very helpful indeed.
*ENDNOTE
*TEST*
Looks better. However, you'll notice that if you are using Tails, it looks like you can
walk under but you can't. If you want, you can fix that by changing the ceiling to 40, but
it's not a big problem.
*ENDTEST*
Okay, now for that burning problem.
Front