SRB2 Level Editing Made Easy
3D Blocks
3D blocks, also called floor-over-floors or FOFs, are one of the coolest special features of SRB2. They allow you to make blocks that float in the air outside, or make multi-level buildings inside, and lots of other cool stuff.Let's look at how they work before we start making any. Here's a stupid dumb representation of a sector in SRB2:
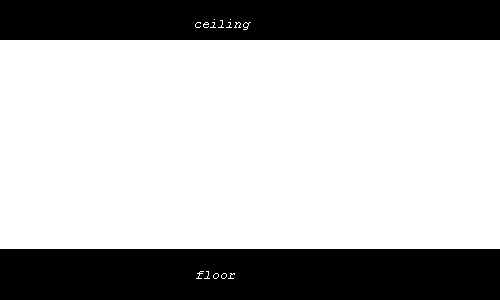
We have a floor and a ceiling. Now the way 3D blocks work is by stuffing something new between the floor and the ceiling:
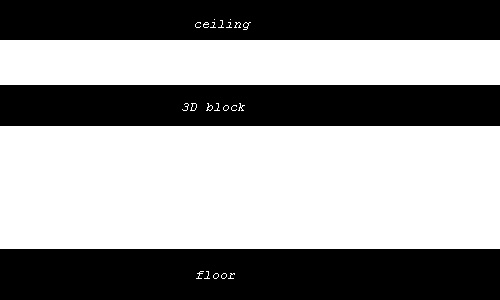
You're putting something new in the middle, between the floor and the ceiling. That something new has a bottom and a top to it. You could also think of the 3D block as forming a new ceiling and a new floor, but please don't think of it that way, because that will make this next part confusing.
3D blocks work mostly the same way as water. When we made a water block, earlier, the water block had a bottom and a top. We made the bottom be so low it was below the sector's floor, so we couldn't see it. But we didn't have to. The water block could have been floating in midair.
That's what 3D blocks do: float in midair. When we made water, the control sector's ceiling was the top of the water block, and the control sector's floor was the bottom of the water block. With 3D blocks, the control sector's ceiling is the top of the 3D block and the control sector floor is the bottom of the 3D block. Same deal.
The reason this confuses some people is because they think of a sector with a 3D block in it as two floors and two ceilings. They say, "The control sector's floor is a ceiling and the control sector's ceiling is a floor? What?! That's completely ridiculous!" So think of it as a block, something with a top and a bottom, and you won't consider it completely ridiculous. I've chosen to emphasise this block-like quality by saying "3D block" instead of "floor-over-floor," even though the term "floor-over-floor" is used more commonly.
We're going to make a new example map to demonstrate 3D blocks. What we'll make in it is a box you can run into. Start a new wad, do the stuff you always do when you start a new wad, and make a huge square for a thok barrier, but not that huge. 896 by 896 will be fine for now. Set it up like this:
Ceiling Image: F_SKY1
Ceiling Height: 64
Floor Image: FLOOR0_3
Floor Height: 64
Inside it make a 768 by 768 square:
Ceiling Image: F_SKY1
Ceiling Height: 4096
Floor Image: FLOOR0_6
Floor Height: 0
And set up those sidedefs so you won't cause any halls of mirrors. You know the drill. Except this time use THZROCK instead of GFZROCK, because we're going to use some stuff from Techno Hill Zone for a change.
Now make a 512 by 512 square in the middle. Set it up like this:
Ceiling Image: F_SKY1
Ceiling Height: 4096
Floor Image: THZFLR08
Floor Height: 96
Set some more "below" textures so as to avoid hall-of-mirrors. For the 512 by 512 square, which we'll turn into a box, a good wall texture to use is THZWAL09, which matches the THZFLR08 flat perfectly.
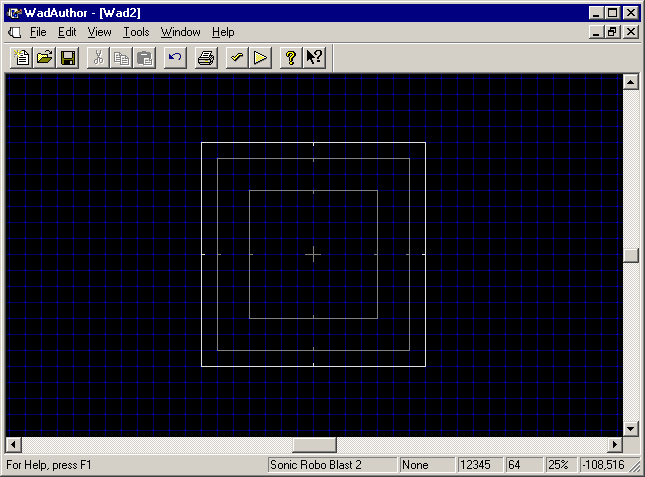
Your map should look something like this:
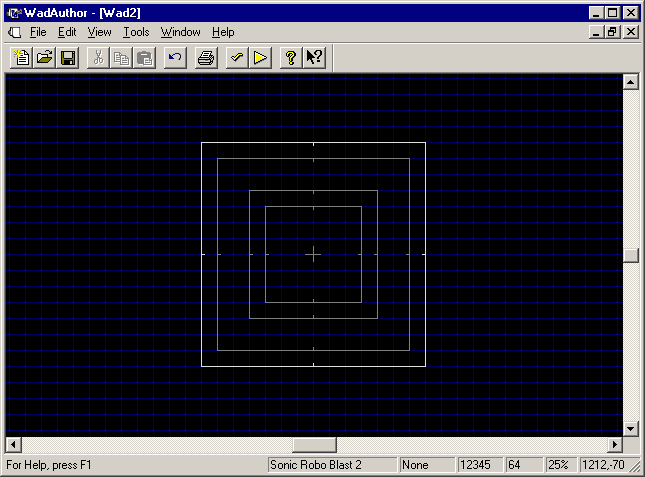
Make a new sector inside the innermost square:
Split the bottom linedef of the 512 by 512 square into three linedefs, and adjust them to match up with the (new) innermost square:
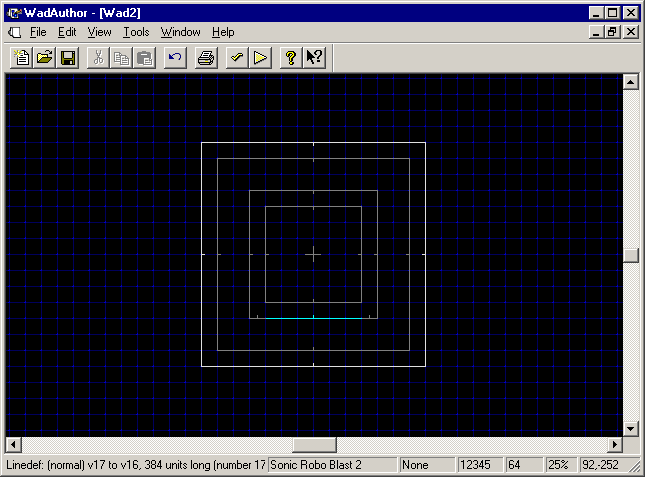
Join the linedef of the innermost square to the new linedef, like this:
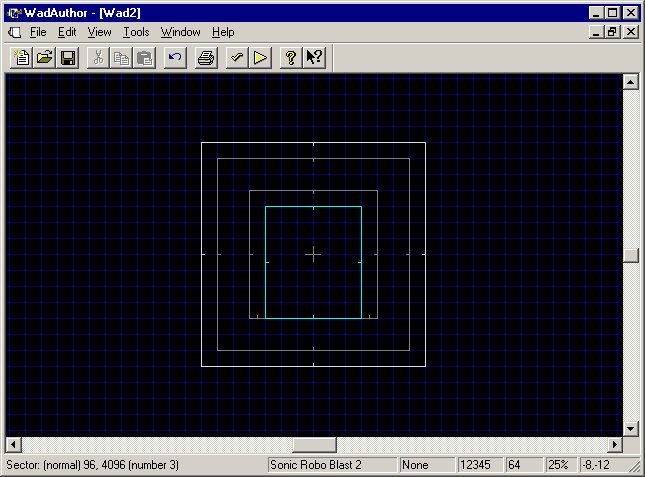
Set up the newest rectangle's floor height to 0. The floor image and the ceiling can be left alone. Finally, adjust the new sidedefs with the proper texture (THZWAL09). Add a "Player 1 Start," save as fourthlevel.wad, and test:
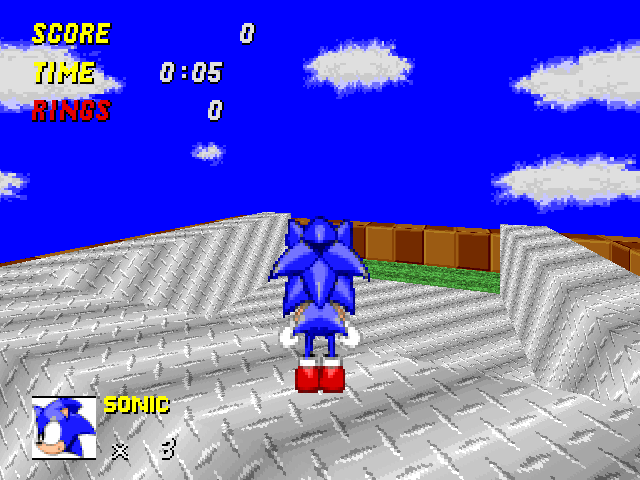
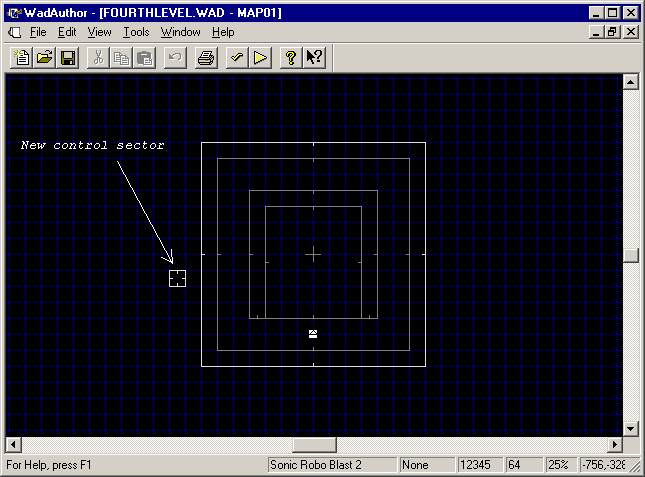
You have an open area with some walls around it. What you want, though, is a box. The open area that is partially enclosed by the walls should look the same as the walls from above, but you should be able to walk under it also. This is what 3D blocks are good for. Make a new control sector in the map to use for your 3D block. Again, 64x64 is a good size, not that size matters for this control sector:
Now that we've done all that busywork, we can get to the actual 3D block. As we said before, the control sector's ceiling is the top of the 3D block, and the control sector's floor is the bottom of the 3D block. What do we want the top and bottom to be?
That's a good question. We know the top should have the flat THZFLR08 on it, so it fits with the rest of the box. It also should be at a height of 96 to fit with the rest of the box. The bottom isn't quite as straightforward.
It would probably be a good design idea to make the bottom of it the same as the top. After all, this is a metal box, and presumably it's all made out of the same metal. At what height should the bottom be? High enough that there's room to walk underneath, but low enough that the box doesn't look too thin. 64 would be a good height.
So set the control sector's properties up like this:
Ceiling Image: THZFLR08 (this is what shows at the top of the 3D block)
Ceiling Height: 96 (height of the top of the 3D block)
Floor Image: THZFLR08 (what shows at the bottom of the 3D block)
Floor Height: 64 (height of the bottom of the 3D block)
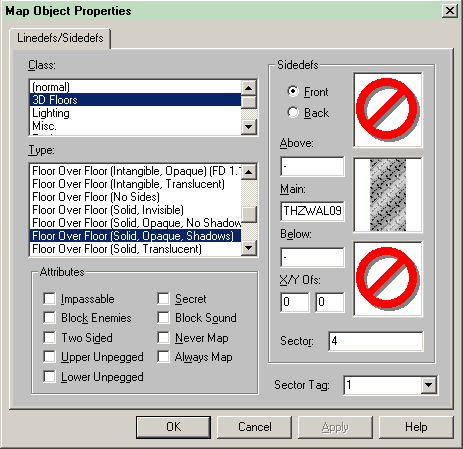
You might be wondering how to specify what the side of the 3D block looks like. That comes next. Select a linedef on the control sector (any will do), open Properties, and select a sector type of "Floor Over Floor (Solid, Opaque, Shadows)" from the class "3D Floors." Now, in the sidedef box on the right, the main texture probably is GFZROCK. The main texture of the control linedef happens to be the texture used on the sides of 3D blocks. We want that to be THZWAL09, which matches the other sides, so set the main texture to that. Finally, give the linedef a sector tag of 1:
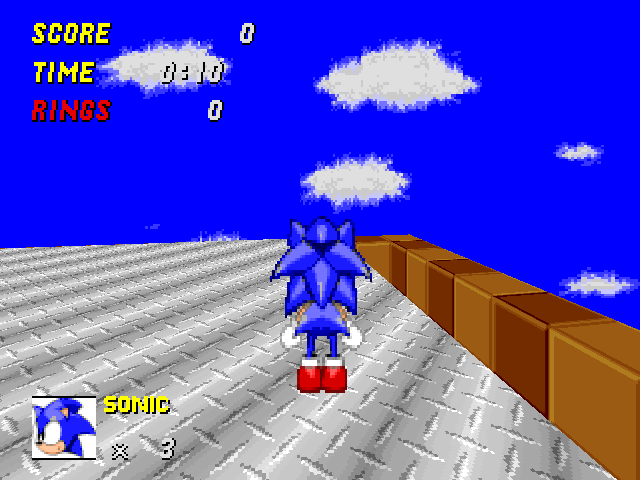
Press OK. Then tag the affected sector, the sector we want the 3D block over, also to 1. Save and test. You have a box that can both be walked over:
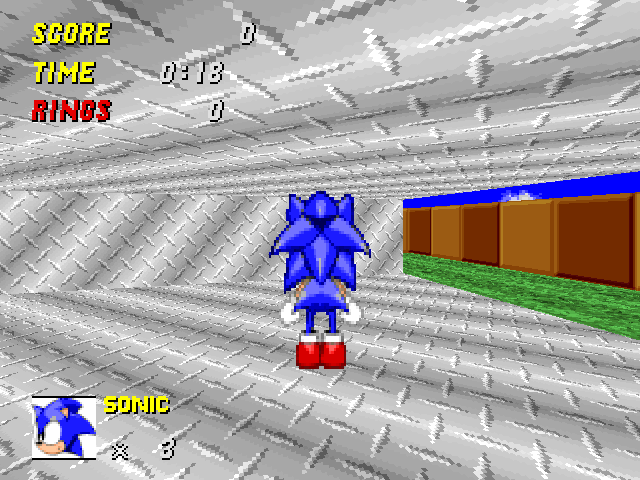
...and in:
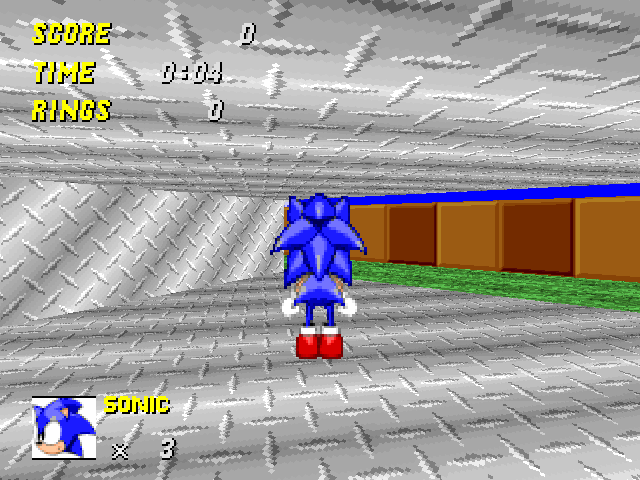
Only one problem: it's too bright in that box. Light doesn't travel through metal, of course. Let's darken the box. What we want to do is darken the area below the 3D block, but not above.
The way this works is that, to alter something below the 3D block, you alter it on the control sector. So open the control sector's properties, and set brightness to 192 instead of the default 255. This makes the box darker:
If you'd wanted to alter the brightness above the 3D block, you would have changed the properties of the affected sector, not the control sector. (Or you could've set the control linedef's type to Floor Over Floor (Solid, Opaque, No Shadows), which makes light settings affect the space above the 3D block instead of below.)
Remember that you can use multiple tag-based effects on an affected sector. That means you can stack up 3D blocks, putting blocks on top of blocks on top of blocks if you want to. Give it a try, why don't you?
You will note that if you place things in a sector with 3D blocks, the things always go below the 3D block, not on it. To place things on 3D blocks (or make them float in the air), you can use the in-game OBJECTPLACE mode, described on the Editing section of srb2.org. You can also do it manually, but that's a topic to save for later.